

The Role of Pre-Treatment in Carpet Cleaning Results
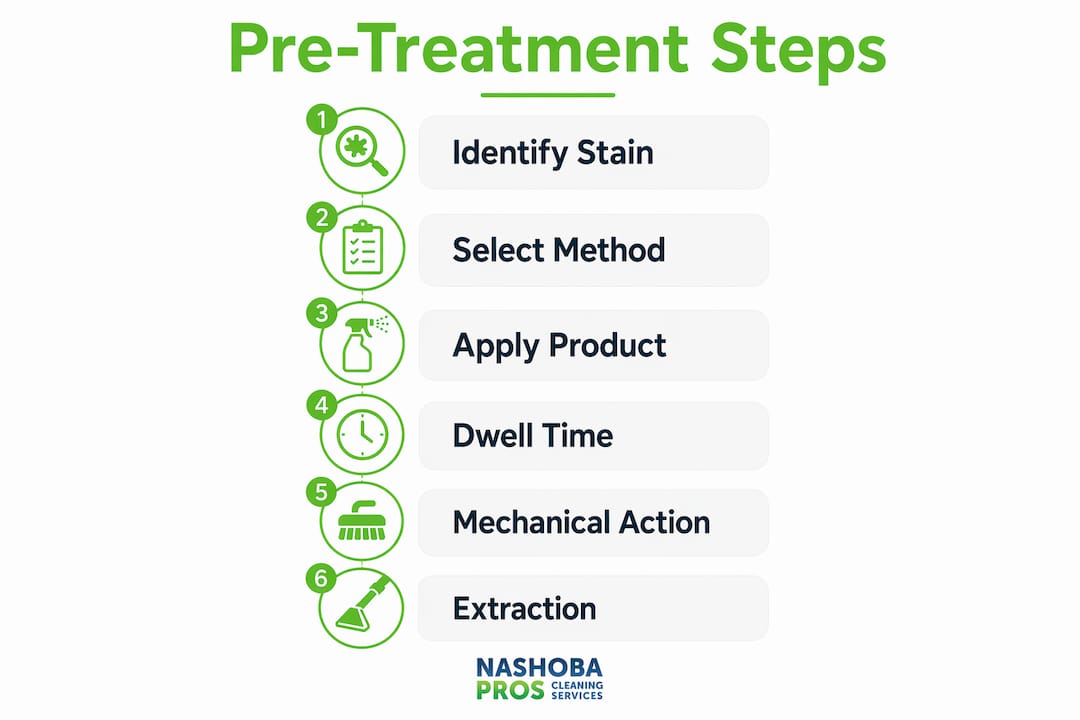
Pre-treatment in carpet cleaning is defined as the application of specialized chemical solutions to carpet fibers before the main extraction process begins, with the direct purpose of breaking down stains, oils, and embedded soil. The role of pre-treatment in carpet cleaning is not optional prep work. It is the step that determines whether your deep clean actually works. Enzymes and surfactants in pre-treatment sprays attack stain molecules at a chemical level, making them far easier to lift during extraction. Without it, hot water extraction alone pushes dirt around rather than pulling it out. Pre-treatment also shortens total cleaning time and protects carpet fibers from the aggressive scrubbing that results when soil has not been loosened first.
How does pre-treatment chemically and mechanically enhance carpet cleaning?
Pre-treatment works through two simultaneous processes: chemical breakdown and mechanical penetration. Understanding both helps you apply the technique correctly and get real results.
Chemical action is where the heavy lifting happens. Three main chemistry types are used in professional and home pre-treatment:
- Enzymes target organic stains like pet urine, food, and blood by literally digesting the protein molecules that cause both the stain and the odor.
- Surfactants reduce surface tension so the cleaning solution penetrates deep into carpet fibers rather than sitting on top. They also surround oily soil particles and suspend them for extraction.
- Oxidizers use a controlled chemical reaction to bleach out color from stains like red wine or coffee without damaging the carpet fiber itself.
Advanced pre-treatment products like Actichem’s MethSan PreWash combine wetting agents with chemistry designed for rapid penetration of oily residues, which shows how far beyond basic soap these formulas go.
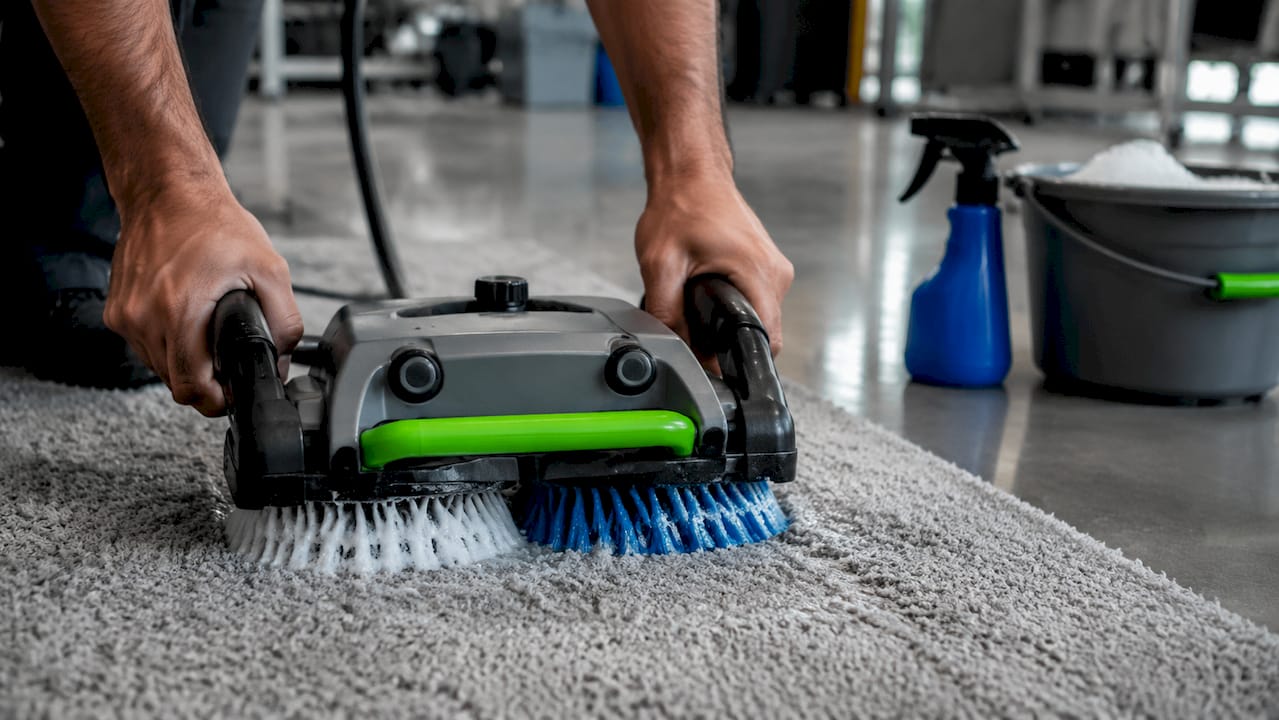
Mechanical action is the physical partner to chemistry. Agitation, whether from a carpet brush, a counter-rotating brush machine, or even a clean cloth worked in circular motions, drives the chemical solution deeper into the fiber bundle. Pre-treating stains with a brief sit time of 1 to 5 minutes before agitation consistently improves stain removal without requiring harsh scrubbing that damages fibers.
Dwell time is the variable most homeowners get wrong. The chemistry needs time to work, but letting the pre-treatment dry on the carpet surface locks residues into the fibers and actually reduces stain-removal effectiveness. Keep the treated area visibly damp until you extract.
Pro Tip: Set a timer when you apply pre-treatment. Two to four minutes of dwell time is the sweet spot for most household stains. If the area starts to look dry before you extract, mist it lightly with water.
What are the main types of carpet pre-treatment methods?
Pre-cleaning techniques for carpets are not one-size-fits-all. The right method depends on the stain type, how old it is, and the carpet fiber you are working with. Proper pre-treatment protocols differ based on soil type, stain age, and carpet fiber, which is why knowing your options matters before you reach for a bottle.
| Pre-Treatment Type | Best For | Chemistry Used | Limitations |
|---|---|---|---|
| Alkaline pre-spray | Heavy soil, grease, general traffic lanes | Surfactants, builders | Can affect wool fibers; needs acid rinse |
| Enzymatic treatment | Pet urine, food, organic stains | Biological enzymes | Slower acting; needs full dwell time |
| Oxidative chemistry | Dye stains, red wine, coffee | Hydrogen peroxide-based | Risk of color change on some fibers |
| Spot pre-treatment | Isolated stains | Varies by stain type | Not suitable for full-carpet application |
| Natural/DIY solutions | Light, fresh stains | Dish soap, baking soda, white vinegar | Limited effectiveness on set stains |
Spot pre-treatment targets a single stain area and uses a concentrated formula applied directly. This is the right call for a fresh coffee spill or a muddy footprint.
Full-carpet pre-spray covers the entire carpet before extraction and is used when traffic lanes are heavily soiled or before a scheduled professional cleaning. This is where alkaline pre-sprays excel because they lift the gray, compacted soil that accumulates in hallways and living room paths.
Pet urine cases require a chemistry stack, not a single product. Skipping any step in the pet urine cleaning process causes the odor to return within roughly 30 days. The correct sequence is alkaline pre-spray, enzymatic treatment, oxidative chemistry, and an acid rinse. For older or sub-surface contamination, you also need to address the carpet pad and subfloor. Failure to treat the carpet pad in pet urine cases results in persistent odors even after thorough surface cleaning.
How does proper pre-treatment affect the overall carpet cleaning process?
The carpet cleaning pre-treatment benefits show up in four measurable ways: cleaning speed, stain removal success, odor control, and carpet longevity.
-
Reduced cleaning time. Pre-treating carpet before cleaning eases the extraction workload and shortens the total deep cleaning time. When soil is already broken down and suspended in solution, the extractor pulls it out in fewer passes.
-
Better stain removal. Professional cleaning with pre-treatment solutions removes deep stains, bacteria, and allergens that extraction alone cannot reach. This is especially true for stains that have been set for more than 24 hours.
-
Odor control that lasts. For pet urine, fresh stains under 24 hours respond well to alkaline pre-spray with enzymes followed by agitation and extraction. Older stains require the full multi-step chemistry stack. Skipping pre-treatment on pet odors means the smell returns because the uric acid crystals are never fully broken down.
-
Carpet fiber protection. When soil is loosened chemically first, the mechanical extraction process requires less agitation and heat. Less aggressive cleaning means carpet fibers retain their structure longer, which directly extends the life of your carpet.
Pro Tip: After pre-treating, always extract in overlapping passes and finish with a clean water rinse pass. This removes chemical residue and prevents the sticky buildup that attracts new soil faster than untreated carpet.
One common error that undermines all four benefits is allowing the pre-treatment to dry before extraction. Drying locks residues into carpet fibers and reduces the effectiveness of the entire cleaning process. Work in sections small enough that you can extract before the chemistry dries.
What are the best practices for homeowners applying pre-treatment?
Applying carpet pre-treatment correctly at home is straightforward when you follow a clear sequence. These steps for carpet pre-treatment apply whether you are using a store-bought enzyme spray or a professional-grade alkaline pre-spray.
- Vacuum first, always. Dry soil removal before pre-treatment prevents the chemistry from wasting its capacity on loose debris. A thorough vacuum pass removes the top layer of dirt so the pre-treatment can focus on embedded soil and stains.
- Spot test on a hidden area. Apply a small amount of your chosen product to an inconspicuous section of carpet, wait five minutes, and check for color change or fiber damage. This is non-negotiable for wool, silk blends, or any carpet with unknown fiber content.
- Apply pre-treatment to the stain, not just the surface. Work the solution into the base of the stain with a soft brush or clean cloth. Surface application only treats the top of the fiber, leaving the embedded portion untouched.
- Respect dwell time. Most home enzyme products need at least five minutes of contact time. Professional-grade alkaline pre-sprays often specify 10 to 15 minutes. Read the label and use a timer.
- Agitate gently. Use a carpet brush or a folded cloth to work the chemistry into the fiber without scrubbing aggressively. Aggressive scrubbing spreads the stain and damages fiber tips.
- Extract or blot before the product dries. This is the single most important rule. If you are using a portable extractor, make your extraction pass while the area is still visibly damp.
- Know when to call a professional. Pet urine that has reached the carpet pad, set-in stains older than a week, or any stain on a delicate fiber like wool or silk warrants professional treatment. Sub-surface pet urine treatment requires specialized equipment and multi-step chemistry that goes beyond what home products can deliver.
You can find more preparation guidance in Nashobapros’s carpet cleaning preparation guide before your next cleaning session.
DIY pre-treatment products vs. professional treatments: which actually works?
Knowing your product options helps you spend money where it matters and avoid wasting time on solutions that cannot handle your specific stain.
| Product Type | Examples | Best For | Limitations | Approximate Cost |
|---|---|---|---|---|
| Store-bought enzyme sprays | Nature’s Miracle, Rocco & Roxie | Fresh pet stains, food spills | Slow on set stains; limited penetration | $10 to $20 |
| DIY natural mixtures | Dish soap + water, white vinegar + baking soda | Very fresh, light stains | No enzymatic action; can spread stains | Near zero |
| OTC alkaline pre-sprays | Folex, Carbona | General soil, traffic lanes | Weaker than professional-grade formulas | $8 to $15 |
| Professional enzyme treatments | Bridgepoint UPS, Prochem | Pet urine, biological stains | Requires correct dwell time and extraction | Applied by technician |
| Professional alkaline pre-sprays | Actichem MethSan, Prochem Prespray | Heavy soil, grease, traffic lanes | Not for DIY use without training | Applied by technician |
Store-bought enzyme products like Nature’s Miracle work well on fresh pet accidents because the uric acid has not yet crystallized. Once a urine stain has dried and set, the enzyme concentration in consumer products is rarely strong enough to fully break down the uric acid crystals. Owners frequently underestimate the time and chemistry required for effective urine treatment, with professional sub-surface treatment requiring two to three hours on site.
DIY natural mixtures have a place for very fresh, light stains on synthetic fibers. White vinegar and baking soda create a mild fizzing reaction that can lift surface soil, but they provide no enzymatic action and can spread a stain if applied too liberally.
Professional-grade products operate at higher concentrations with more targeted chemistry. The difference is not just marketing. It is the difference between a product designed for a consumer to use safely without training and one calibrated for a technician who controls dwell time, agitation, and extraction precisely.
Key takeaways
Pre-treatment is the single step that separates a surface clean from a genuinely deep clean, and skipping it means more scrubbing, worse results, and faster re-soiling.
| Point | Details |
|---|---|
| Pre-treatment breaks down soil chemically | Enzymes, surfactants, and oxidizers loosen stains before extraction begins. |
| Dwell time controls results | Letting chemistry work 2 to 15 minutes maximizes effectiveness; drying locks in residue. |
| Pet urine needs a chemistry stack | Alkaline pre-spray, enzymes, oxidation, and acid rinse are all required to prevent odor return. |
| DIY products have real limits | Consumer enzyme sprays work on fresh stains; set stains and sub-surface contamination need professional-grade treatment. |
| Agitation multiplies chemical effectiveness | Working pre-treatment into fibers with a brush drives chemistry deeper without damaging the carpet. |
Why pre-treatment is the step I never skip
After more than 30 years cleaning carpets in Westford and the surrounding communities, the pattern I see most often is homeowners who tried to clean a stain themselves, got frustrated, and called us in. Nine times out of ten, the problem was not the stain itself. It was that the pre-treatment step was either skipped or done wrong.
The most common mistake I see is applying a spray product, waiting 30 seconds, and then scrubbing hard. That sequence does the opposite of what you want. The chemistry has not had time to work, so the scrubbing spreads the stain and pushes it deeper into the fiber. You end up with a larger, more embedded problem than you started with.
The second mistake is treating the surface and ignoring what is underneath. For pet urine especially, the carpet is often the least contaminated part. The pad and subfloor hold the majority of the uric acid, and no amount of surface pre-treatment fixes that. If your carpet still smells after cleaning, this is almost certainly why. Nashobapros has a detailed breakdown of why carpets smell after cleaning that explains this in plain terms.
My honest advice: use pre-treatment every single time you clean your carpet, not just when you see a stain. Traffic lanes accumulate oily soil that is invisible until it turns gray. A light alkaline pre-spray applied before your regular cleaning session lifts that oil before it bonds permanently to the fiber. It takes five extra minutes and it is the single best thing you can do to extend the life of your carpet between professional cleanings.
— Jim
Get professional pre-treatment and deep cleaning from Nashoba Pros
When the stain is beyond what a spray bottle can fix, Nashoba Pros brings commercial-grade pre-treatment chemistry and trained technicians to your home. We assess the stain type, carpet fiber, and contamination depth before selecting the right pre-treatment protocol. That means no guessing, no wasted product, and no odor returning three weeks later.
Whether you are dealing with years of traffic lane buildup, a pet urine problem that has reached the pad, or a set-in stain that has survived multiple DIY attempts, we have the equipment and chemistry to handle it. Every product we use is pet-safe and family-safe. Most jobs in the Nashoba Valley area can be scheduled quickly. Get a free quote from our Maynard carpet cleaning team or book online today.
FAQ
What does pre-treatment do in carpet cleaning?
Pre-treatment applies enzyme, surfactant, or oxidizing chemistry to carpet fibers before extraction, breaking down stains and soil so the main cleaning process removes them more completely. Without it, hot water extraction alone cannot fully lift embedded grease, organic stains, or pet urine.
How long should carpet pre-treatment sit before cleaning?
Most home enzyme products need at least five minutes of dwell time, while professional alkaline pre-sprays typically require 10 to 15 minutes. The key rule is to extract before the product dries, since drying locks residue into the fiber.
Does pre-treatment really improve carpet cleaning results?
Pre-treatment shortens cleaning time and improves stain removal by breaking down soil chemically before extraction begins. Professional cleaning that combines pre-treatment with hot water extraction removes deeper stains, allergens, and bacteria than extraction alone.
Can I use DIY products for carpet pre-treatment?
Store-bought enzyme sprays like Nature’s Miracle work well on fresh pet stains and light food spills. For set-in stains, heavy soil, or any contamination that has reached the carpet pad, professional-grade chemistry and equipment deliver results that consumer products cannot match.
Why does carpet odor return after cleaning?
Odor returns when the pre-treatment step fails to address sub-surface contamination, particularly in pet urine cases where uric acid crystals remain in the carpet pad and subfloor. Skipping any step in the full chemistry stack, including enzymatic treatment and oxidation, causes the smell to reappear within about 30 days.