

Steam Cleaning’s Role in Tile and Grout Maintenance
Why steam cleaning is the best method for tile maintenance
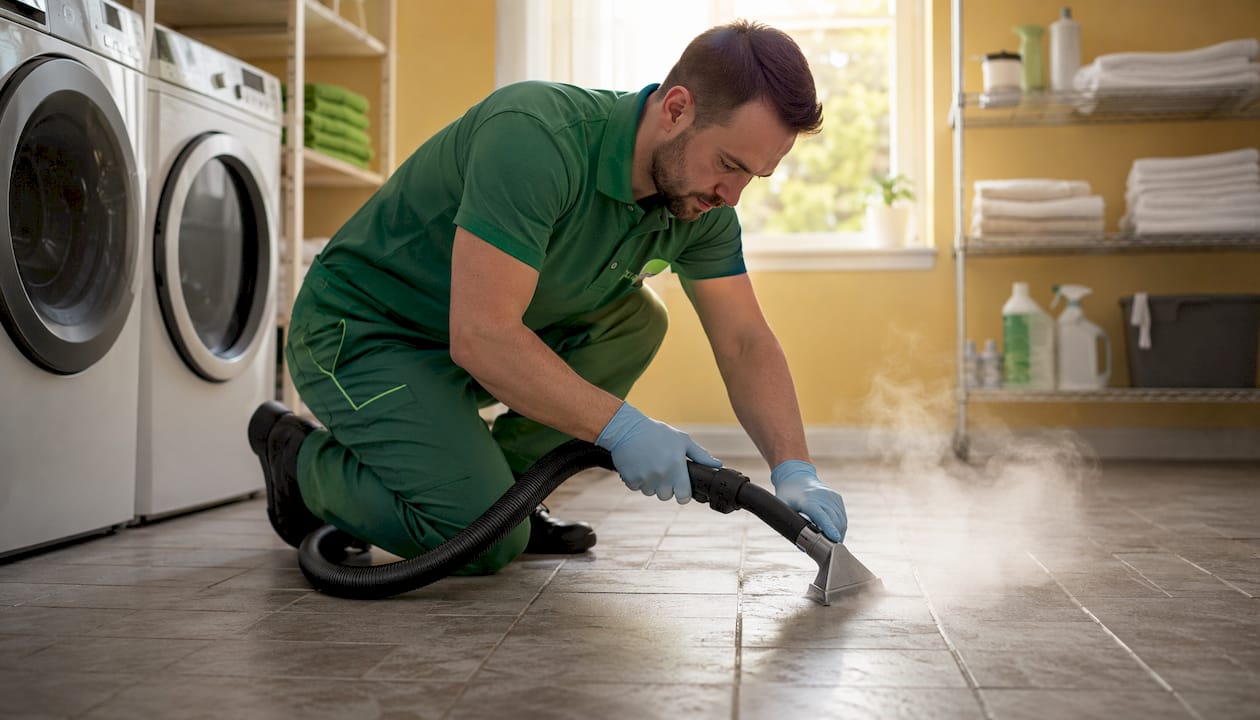
Steam cleaning is an effective chemical-free method for maintaining tile and grout surfaces in your home. It uses high-temperature water vapor to penetrate porous grout lines, break the bond between embedded dirt and the surface, and sanitize without chemicals. Ceramic, porcelain, and properly sealed stone tiles all respond well to it. The result is a genuinely clean surface, not just a surface that looks clean until the next spill.
The role of steam cleaning in tile maintenance goes well beyond cosmetic upkeep. Here is what it actually delivers:
- Kills most bacteria and mold spores without any chemical products
- Lifts embedded grime from grout pores that standard mopping leaves behind
- Significantly cuts scrubbing time compared to traditional hand scrubbing
- Leaves no chemical residue that attracts new dirt
- Safe for homes with children and pets when used correctly
- Reduces allergens, dust mites, and mildew trapped in grout lines
How steam actually works on tile and grout surfaces
Grout is porous by nature. Dirt, mold, and soap scum work their way into those tiny pores where a mop and bucket simply cannot reach. Steam forces pressurized water vapor deep into those pores, loosening debris from the inside out rather than just scrubbing the surface. As Cory Waltermath, president of Desert Oasis Cleaners, explains: “The high temperature of steam can penetrate and break down dirt and bacteria that standard mops can’t.”
The process works best when you follow a clear sequence. Skipping the prep steps is the most common reason homeowners get disappointing results.
- Sweep or vacuum first to remove loose grit. Steam over debris just drives it deeper into grout lines.
- Inspect grout and tile for cracks or damage before you start. Steam can worsen existing weak spots.
- Fill your steam cleaner with distilled or demineralized water to prevent mineral deposits.
- Attach a narrow nylon or brass brush nozzle for grout lines, and a microfiber pad for the tile surface.
- Work in small sections, moving slowly to ensure effective cleaning.
- Wipe immediately after each pass with a dry microfiber cloth to remove loosened grime before it re-settles.
- Ventilate the room and dry the floor fully within a reasonable time after finishing.
Pro Tip: Use a microfiber pad attachment on the tile surface and switch to the narrow nozzle only for grout lines. The combination lifts surface grime and grout buildup in a single pass without switching tools mid-floor.
Steam cleaning vs. chemical tile cleaners: what actually changes
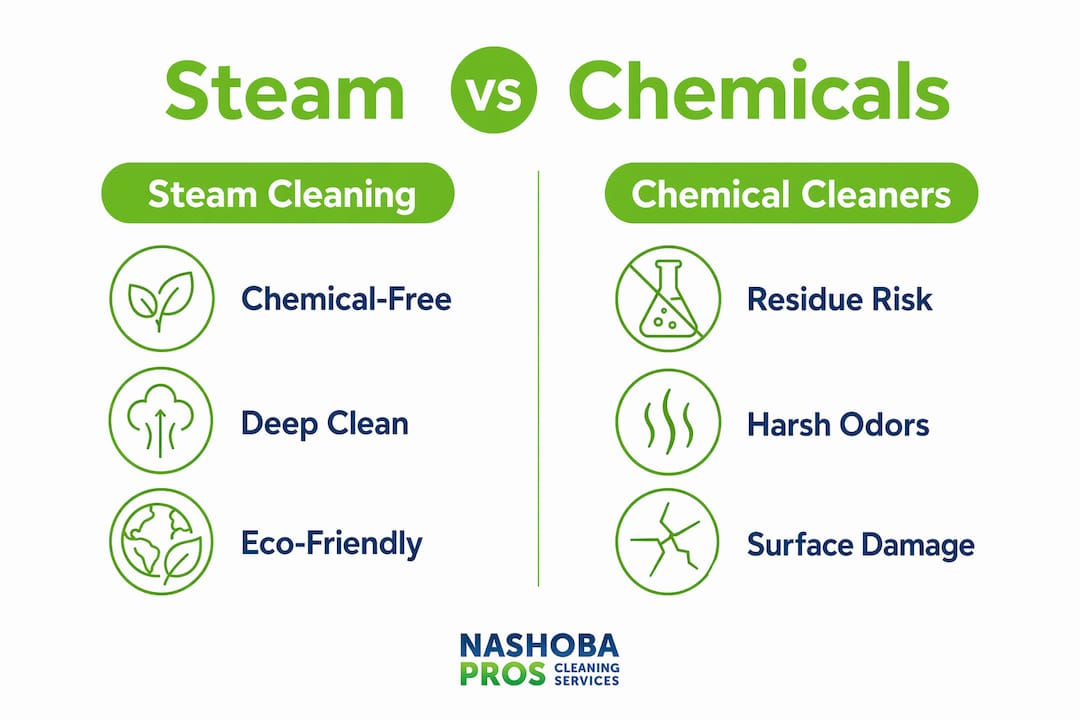
The most obvious advantage is what you are not putting on your floor. Chemical tile cleaners leave residues that attract new dirt, and many contain volatile organic compounds (VOCs) that linger in indoor air long after the floor dries. Steam uses only water, so there is nothing left behind except a clean, dry surface.
Steam cleaning is safe for households with children and pets precisely because no chemical contact occurs. For families dealing with asthma or allergies, that matters more than the cleaning power alone. Steam also removes dust mites and mold spores that chemical cleaners often just displace rather than destroy.
From a purely practical standpoint, the efficiency gap is real. Professional cleaner Sarah Piper notes that a steam cleaner “cuts down the elbow grease by at least half” and consistently covers more ground in less time than scrubbing by hand. For anyone who has spent an afternoon on their knees with a grout brush and a bottle of bleach, that is not a small thing.
- No VOCs, synthetic fragrances, or corrosive agents released into your home
- No chemical residue that dulls tile finish or attracts grime faster
- Neutralizes odors from mold, mildew, and spills rather than masking them
- One tool replaces multiple cleaning products, including disinfectants and degreasers
- Reusable microfiber pads reduce waste compared to disposable scrubbing pads
For homeowners who want to extend the chemical-free cleaning approach beyond tile to carpets and upholstery, the same principles apply throughout the home.
Precautions and limitations you need to know before you start
Steam cleaning is not universally safe for every tile surface. Ceramic and porcelain tiles handle high heat and moisture well, but natural stone tiles like marble, travertine, limestone, and slate are a different story. Heat and excess moisture can etch the surface, damage the sealant, or cause sub-surface moisture to build up and eventually spall the tile. Vinyl and laminate tiles should never be steam cleaned at all.
The condition of your grout matters just as much as the tile type. Unsealed or cracked grout cannot handle sustained steam exposure. Moisture gets behind the tiles and, over time, causes them to loosen or pop off. Cleaning expert Sarah McAllister puts it plainly: “Steam cleaning can damage grout, but mainly if the grout is unsealed or if you are using high-pressure steam.” Her advice is to clean the grout thoroughly, seal it, and then steam with confidence.
A common misconception is that steam can restore permanently damaged or deeply stained grout. It cannot. Steam removes surface dirt and sanitizes, but structural grout damage requires professional repair, not more cleaning passes.
- Never steam natural stone tiles without confirming they are fully sealed and testing a hidden area first
- Avoid the maximum pressure setting on your first pass, especially on older tile installations
- Do not hold the nozzle stationary on one spot. Keep it moving at all times.
- Skip metal brush attachments entirely. They scratch glazed tile permanently. Use nylon or brass only.
- Check the floor manufacturer’s care instructions before steaming any tile you are unsure about.
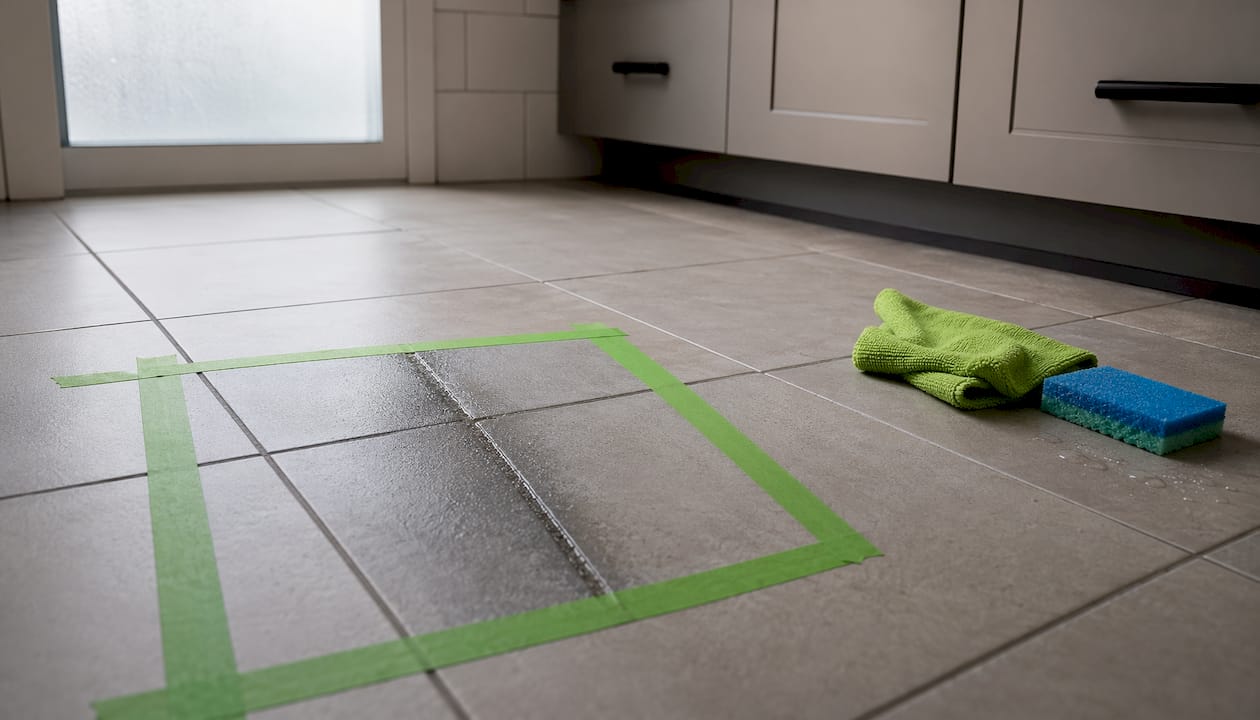
Pro Tip: Always test a small, inconspicuous area with low-pressure steam before cleaning the full floor. If the grout color lightens dramatically or sand comes loose, stop and assess the grout condition before continuing.
Grout care and resealing after steam cleaning
Steam cleaning opens up the pores in cement-based grout to pull out deep stains, but those same open pores will re-absorb dirt faster if you skip the resealing step. Resealing grout after a thorough steam clean is one of the highest-value maintenance steps a homeowner can take.
Before you reseal, run a quick water-drop test. Place a drop of water on the grout and watch for five minutes. If the grout absorbs the water, it needs sealing. If the water beads up, the existing seal is still doing its job. After steam cleaning, wait at least 24 hours before applying sealer, and up to 72 hours in humid rooms like bathrooms. Sealing damp grout traps moisture beneath the surface and causes haze or bond failure.
For resealing intervals, the general guidance from industry professionals is to reseal grout every 12 to 18 months for high-traffic areas, and every 24 months for general areas. Following that schedule prevents dirt from re-penetrating and reduces how often you need a deep clean.
Grout care checklist:
- Run the water-drop test before and after steam cleaning to confirm sealing status
- Wait 24–72 hours after steaming before applying any penetrating grout sealer
- Reseal high-traffic grout every 12–18 months; other areas every 24 months
- Use a pH-neutral cleaner for routine maintenance between steam sessions
- Wipe up spills immediately, especially grease and acidic liquids, before they soak into porous grout
- Run a bathroom exhaust fan for at least 20 minutes after the last shower of the day to dry grout lines
Resealing process steps:
- Steam clean the grout thoroughly and allow it to dry completely (24–72 hours).
- Confirm dryness with the water-drop test or a moisture meter if available.
- Apply a penetrating grout sealer using a small brush or applicator bottle along each grout line.
- Wipe away any excess sealer from the tile surface before it dries.
- Allow the sealer to cure per the manufacturer’s instructions before exposing the surface to water.
How steam cleaning removes mold and stains from tile and grout
Mold is one of the most persistent problems in bathroom and kitchen tile, and steam is one of the few cleaning methods that actually kills it rather than bleaching it white. The high heat kills mold spores on contact, including the bacteria behind pink and orange grout stains caused by serratia bacteria. Chemical bleach can lighten the discoloration but often leaves spores behind to regrow.
For mold-prone areas like shower walls and bathroom floors, a monthly light steam pass keeps grout looking fresh and prevents deep staining from taking hold. Kitchen grout around the stovetop, which collects grease and food residue, also benefits from monthly attention. If grout has gone six months or more without cleaning, plan on multiple passes and possibly a pre-treatment with a pH-neutral cleaner before steaming.
After steaming a mold-affected area, the drying step is not optional. Leaving moisture on grout, especially unsealed grout, creates the exact conditions mold needs to return. Wipe the surface down with a dry microfiber cloth immediately after each pass, then run a fan or open a window to bring the area to full dryness within 30 minutes.
- Pre-treat heavy mold spots with a 50/50 hydrogen peroxide and water spray, let it sit five minutes, then steam
- Work in small sections and wipe between passes to remove loosened spores rather than redistributing them
- For deeply discolored grout, make 2–3 passes, letting steam dwell for 3–5 seconds before scrubbing with the brush
- Ventilate the room during and after cleaning to prevent moisture from settling back into grout lines
- Seal grout after the area dries fully to lock out future mold penetration
What professionals know about steam cleaning tile that most homeowners miss
The technique matters as much as the equipment. Using a light touch on grout lines with a nylon or brass brush nozzle, held just barely against the surface, protects grout from erosion. Pressing hard or holding the nozzle in one spot concentrates heat and pressure in a way that gradually wears down even sealed grout.
Acidic cleaners are the most common mistake homeowners make between steam sessions. Vinegar, lemon-based sprays, and bleach all degrade grout sealant over time, which means your next steam clean is working against already-compromised grout. Stick to pH-neutral products for routine mopping and spot cleaning, and your sealant will last its full interval.
Regular steam cleaning combined with daily habits like wiping spills promptly and using a squeegee on shower walls after the last use of the day keeps grout vibrant far longer than periodic deep cleans alone. For tile and grout that has accumulated years of wear, professional tile and grout cleaning can restore surfaces that home equipment cannot fully reach.
- Keep the steam nozzle moving at all times. Stationary steam concentrates heat and can loosen tile adhesive.
- Descale your steam cleaner regularly. Limescale buildup is the most common cause of weak steam output on grout.
- Use distilled water in your machine to prevent white mineral streaks on dark grout.
- After cleaning, use a squeegee or dry towel on bathroom tile to prevent soap and mineral deposits from soaking back in.
- Address any cracked or crumbling grout with repair before the next steam session, not after.
Nashobapros has spent over 30 years maintaining tile and grout in homes across Westford and the Nashoba Valley. When home steam cleaning reaches its limit, professional-grade equipment and trained technique make the difference between a surface that looks clean and one that actually is.
Key Takeaways
Steam cleaning is the most effective chemical-free method for tile and grout maintenance, cutting scrubbing time by at least 50% while killing up to 99.9% of bacteria and mold spores.
| Point | Details |
|---|---|
| Sealed grout is non-negotiable | Steam can damage unsealed or cracked grout; always confirm sealing status before cleaning. |
| Reseal on a schedule | Reseal high-traffic grout every 12–18 months and other areas every 24 months to prevent dirt re-penetration. |
| Wait before resealing | Allow 24–72 hours after steam cleaning before applying sealer to avoid trapping moisture. |
| Technique protects grout | Keep the nozzle moving, use nylon or brass brushes only, and wipe immediately after each pass. |
| Avoid acidic cleaners | Vinegar, lemon, and bleach degrade grout sealant; use pH-neutral products between steam sessions. |